|
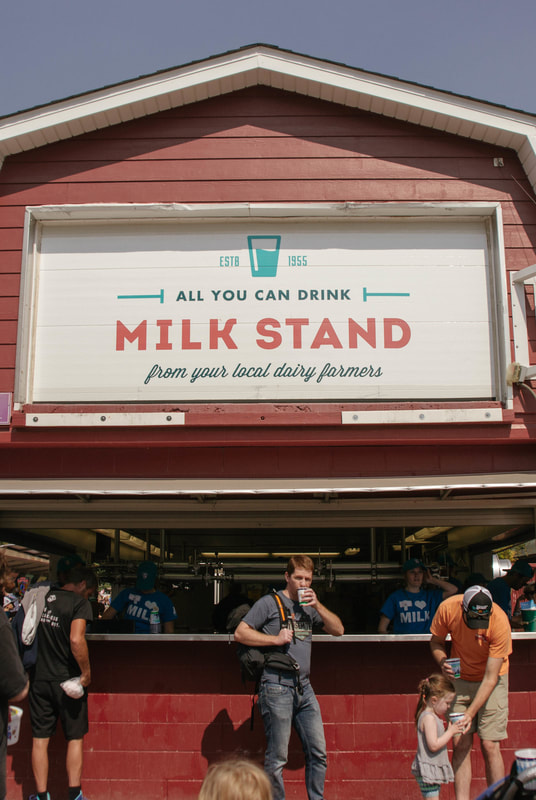
The first time we planned to go to the Minnesota State Fair, everyone told us we just had to get a bucket of cookies from Sweet Martha's Cookie Jar. Hot cookies served fresh from the oven seemed like an odd idea for fair food, and I have to admit that we didn't jump on the bandwagon that first year. Still, we noticed the hoards of people around the cookie stands and the many others who carried around heaping buckets of cookies throughout the fairgrounds, and our curiosity was piqued.
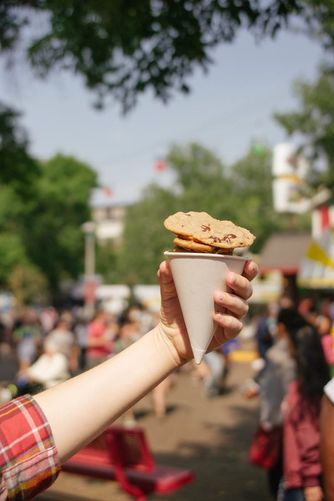
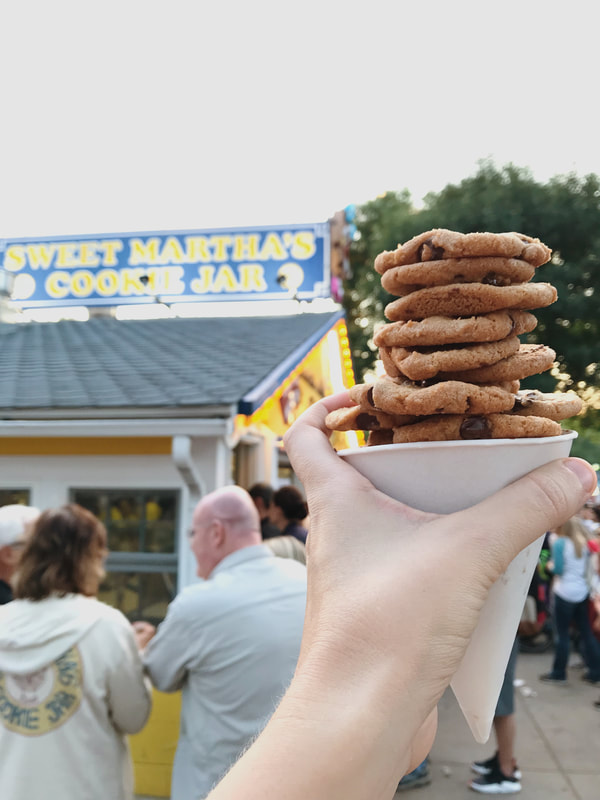
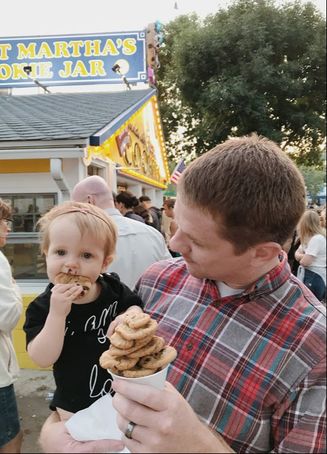
It turns out that Sweet Martha sells millions of cookies EVERY DAY during the fair, and the owners pocket millions of dollars for the few weeks they are open each year. So the next time we went to the fair, we decided to give the tradition a try. We bought the cone of cookies and shared a cup of All-You-Can-Drink milk, and we came to two conclusions: 1. Cookies and milk are the perfect Minnesota treat and 2. Sweet Martha's famous cookies taste surprisingly like Matt's own chocolate chip cookie recipe!
Our recipe comes from Matt's family. His siblings used to make these cookies all the time, and now we all make them with our own children. According to family legend, the recipe came right off of the back of a bag of chocolate chips, but it's not the recipe you'll find there today. 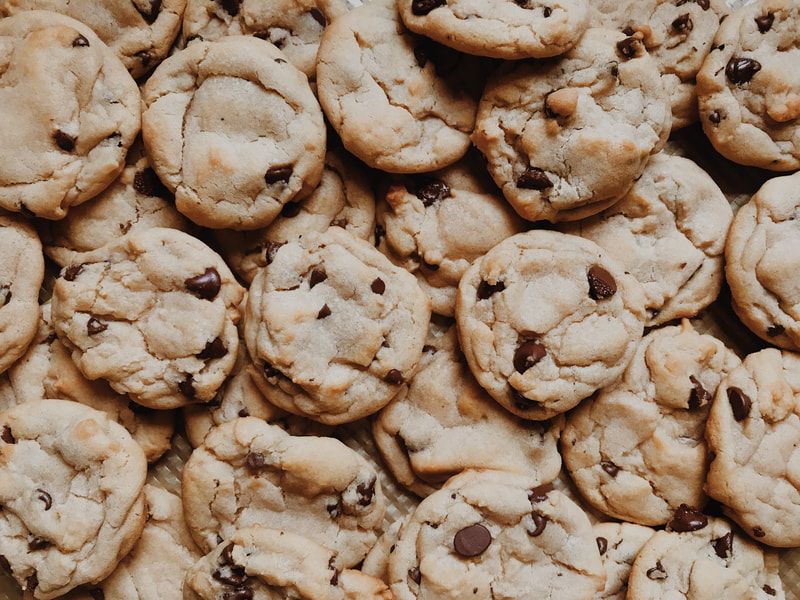 Chocolate chip Cookies
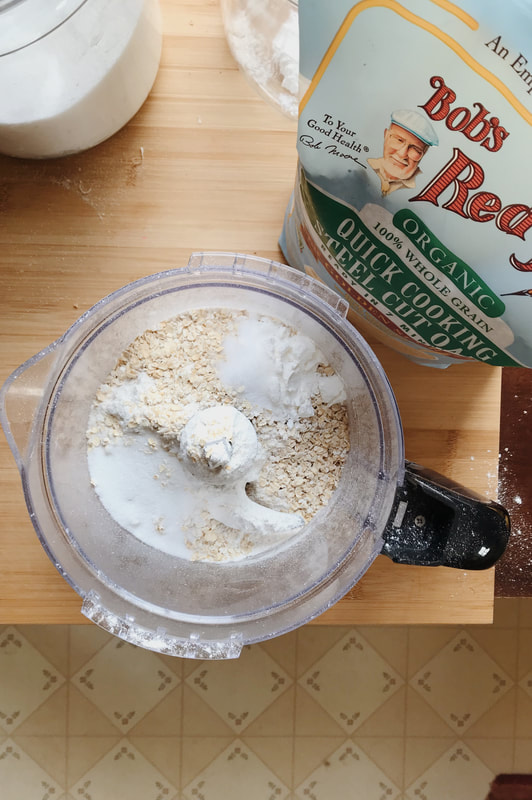
Truthfully? I didn't even like chocolate chip cookies until I tried Matt's recipe. And now we make them All. The. Time. I haven't even tried other recipes, even though Sarah Kieffer's Pan Banging Chocolate Chip Cookies do look tempting! And even though we love Sweet Martha's (as any Minnesotan should), I'm glad we don't have to wait for the fair each year to have these delicious cookies! As an added bonus, I thought I'd also share my go-to oatmeal chocolate chip cookie recipe. I use the recipe from Bless This Mess, but I only grind 1 1/2 cups of the oatmeal, leaving the rest whole for more texture. I also stick to all semi-sweet chocolate chips, with my preferred blend of mini and regular. It's a new favorite, but a favorite all the same. Now if only I could find an amazing Snickerdoodle recipe, my life would be complete!
2 Comments
I've heard a few people say that they try to avoid using the oven when it gets to be too hot in the summer, but when it comes to baking, I consider the temperature outside to be mostly irrelevant. After all, yeast rises better when it's warm anyway! 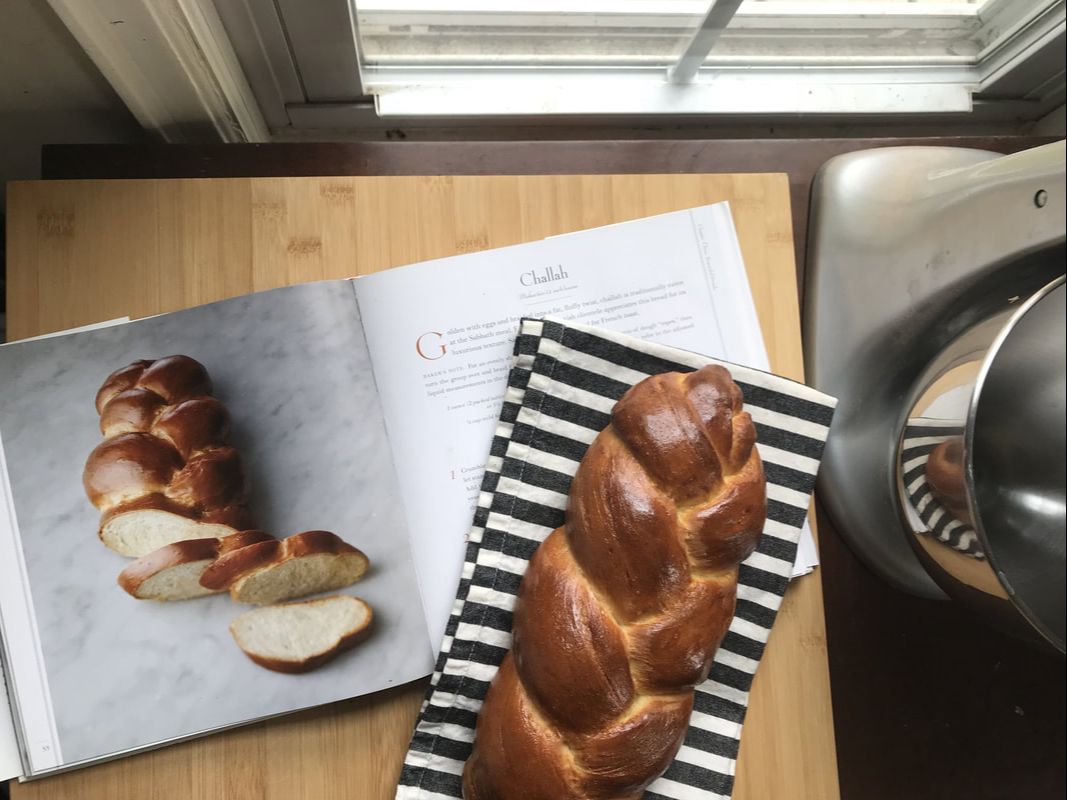 I have a few go-to bread recipes, but lately I've been meaning to branch out and try new flavors and techniques. I started by making the Challah from Sarahbeth's Bakery: From My Hands to Yours, and it turned out beautifully- it didn't even look real! When it came down to flavor and texture, however, I actually found myself missing my mom's simple "Braid-a-Bread" recipe. It's a similar plaited loaf, but it has a lighter crust, a softer, close-texture crumb, and it's topped off with a generous amount of sesame seeds. It's perfect for soaking up gravy or smothered in homemade raspberry jam. And it reminds me of home and big family dinners. Braid-a-BreadMakes 2 loaves
4. Knead for 5-8 minutes. 5. Turn dough into a greased bowl. Cover and let rise in a warm place until it doubles (about two hours). 6. Divide dough in half, then divide each half into thirds. 7. Cover your baking sheet with parchment paper. 8. On a lightly floured surface, roll each into a 16 inch rope. Place the ropes parallel on the baking sheet and braid, starting form the middle (Sarabeth suggests flipping the plait over when you're ready to start braiding in the other direction). Repeat for second loaf. 9. Cover and let rise to double (about 1 hour). 10. Set oven at 400 degrees. Just before baking, mix one egg yolk with a tablespoon of water and gently brush over the plaits. Sprinkle with sesame seeds. 11. Bake at 400 for 15-20 minutes. In other baking news, The Great British Baking Show is back for another season, and in the Bread Episode, the technical challenge was a plait with EIGHT STRANDS (!!!). That's an idea for "maybe someday," but the next time I heat up my house for some homemade bread, I'm sticking with what I know!
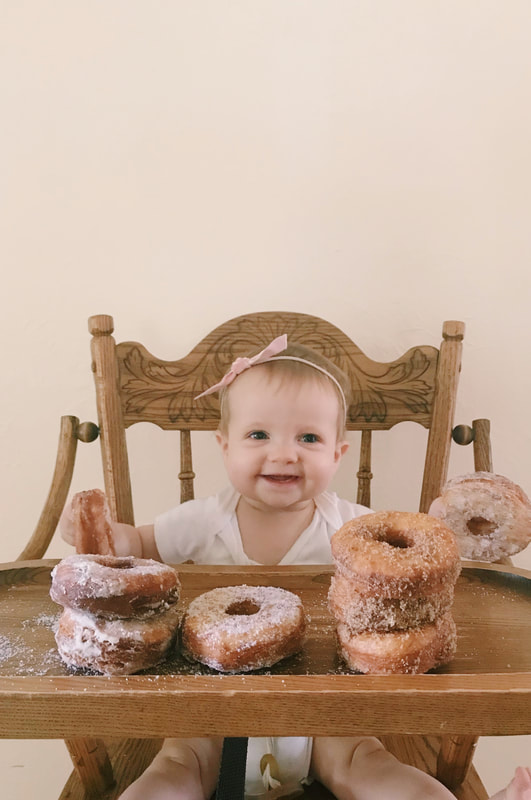
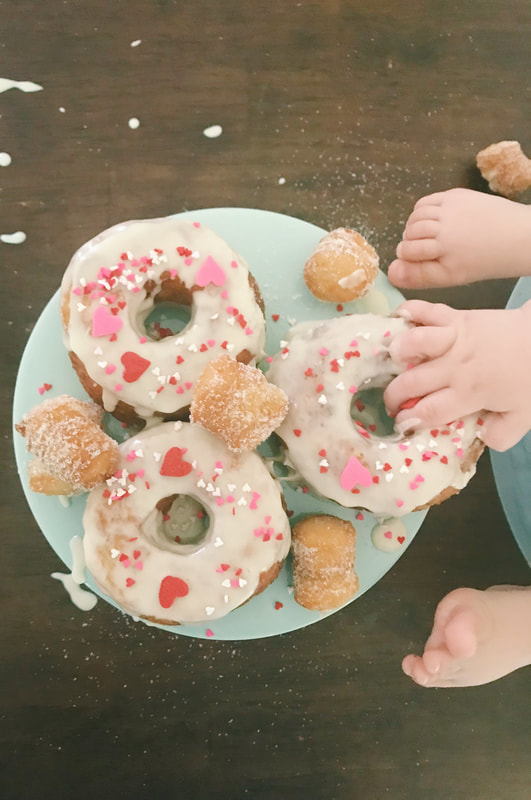
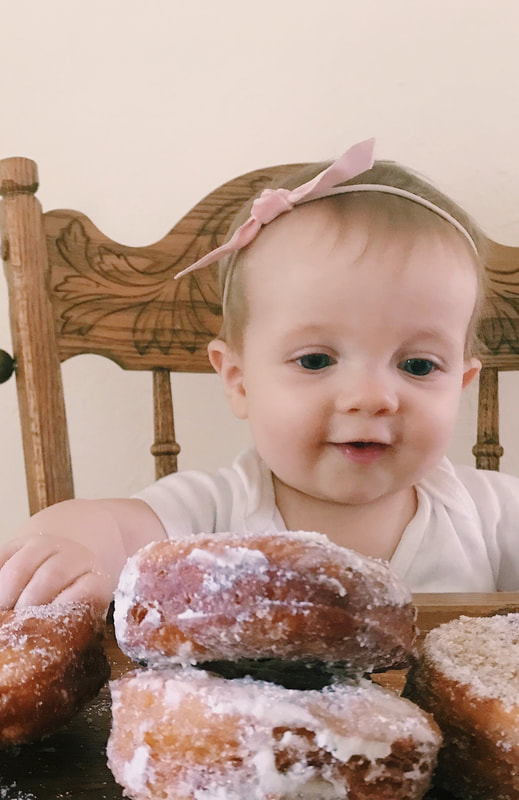
A friend recently asked me what I would choose if I could only pick one food to eat for the rest of my life. I went with the first food that popped into my mind, "DisneyLand Churros!" Because they're the happiest place on earth and childhood nostalgia meets cinnamon & sugar and deep fried dough- it's a no brainer! For as long as I can remember, I've preferred doughnuts and churros to every other dessert option. And while I did forego trying a burger with a doughnut bun while we lived in Texas, I have thoroughly enjoyed the Hi-Tops at Hi-Lo Diner in Minneapolis (Check out the Gary Cooper and the Notorious P.I.G.!). I've tried doughnuts everyplace we have lived, and while I'll never grow tired of trying new doughnut shops, I've never found a place that measures up to Foster's Doughnuts in my hometown. 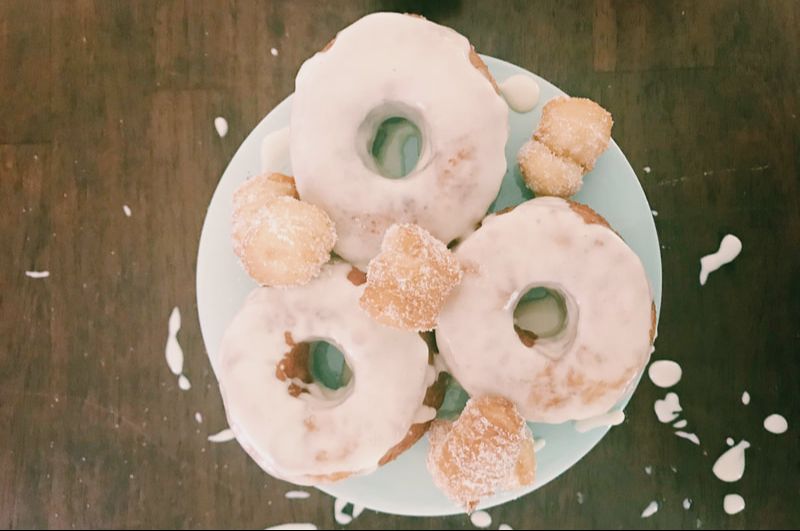
And so, in honor of National Doughnut Day (and my first time ever celebrating it), I decided to try a new recipe- not a churro or a doughnut, but a Dominique Ansel Cronut from his book, Dominique Ansel: Secret Recipes. It took several days of preparation, including quite a bit of research to find the perfect doughnut cutter and two days of dough lamination, and all along I knew there was no way they were going to be as good as the real deal, but they were still pretty darn good :) 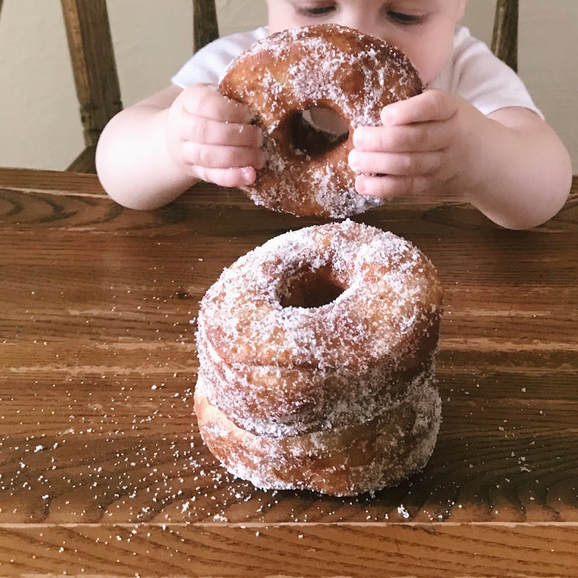 Resources, Tips, and Takeaways
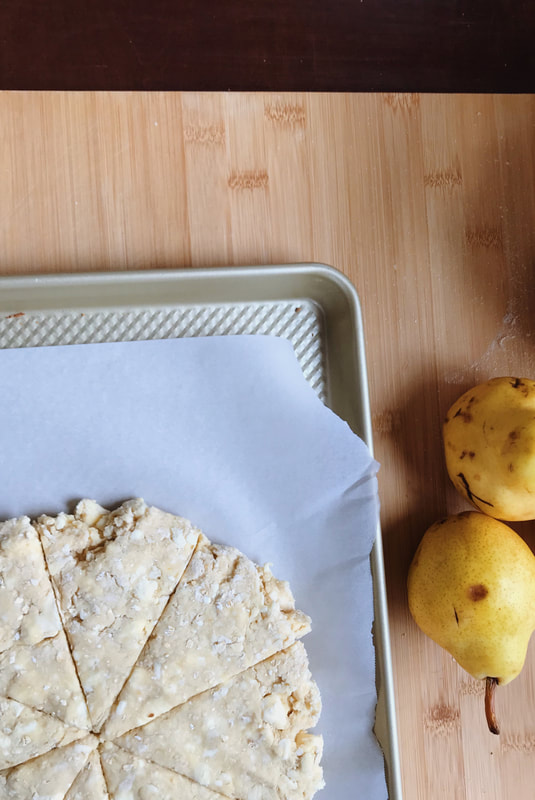
Sarah Kieffer is a food blogger and self- taught baker right here in Minnesota. We've never met, but I like to think that maybe someday our paths will cross. People who love food like we do, in spite of the carbs and the flour in our hair, would certainly have enough in common to kindle a friendship. The problem is that I tend to get a little star struck and a little too excited about food- I'm laughing just thinking about how bright eyed I would be in thst situation! Regardless, she's fun to follow on Instagram, and sometimes, I'll be scrolling through and BAM! a picture like this shows up:
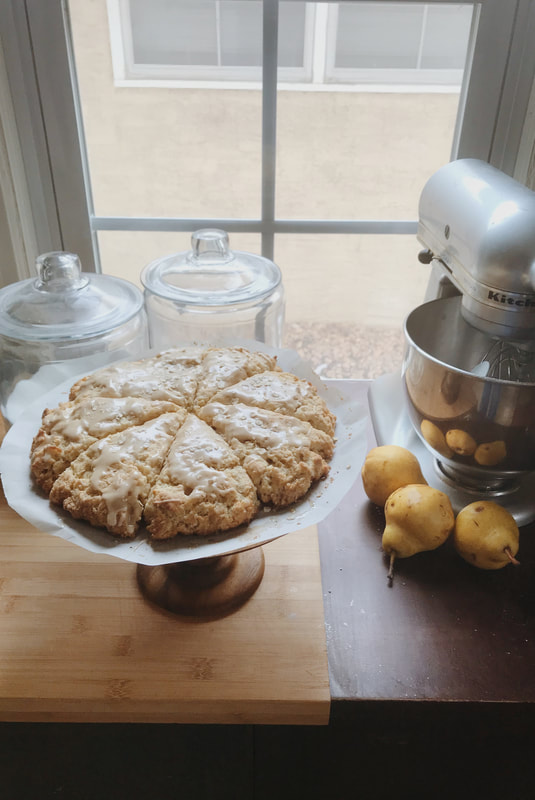
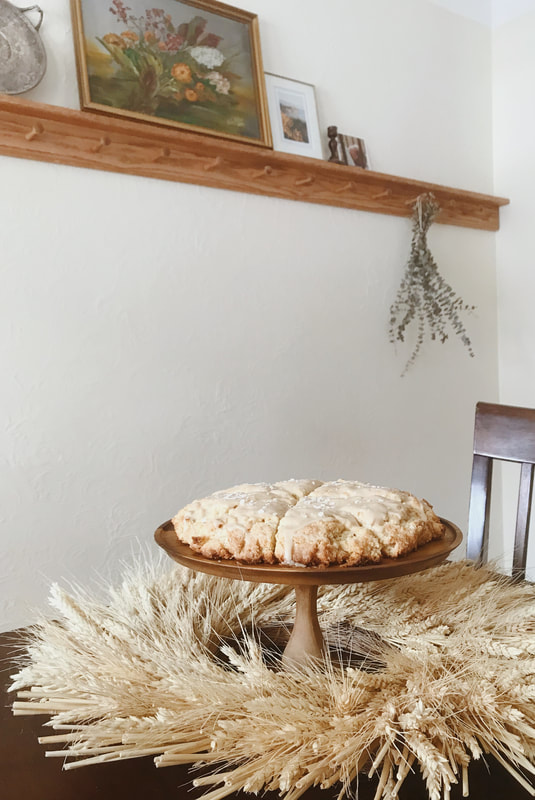
Just looking at the picture, I'm craving her Maple Oatmeal Scones all over again. They were moist and buttery, sweet and syrupy, and perfect for breakfast or dessert- just make sure you've got a tall glass of milk to go with them. They're like pancakes with syrup and maple bar donuts rolled into one indulgent treat.
I want to send this recipe to my friend whose Mom always supplies her with real maple syrup from the East coast. I want to send it to my little brother who is learning to bake and can't go wrong with this straightforward, crowd pleasing recipe. I want to host a brunch and serve this warm, to watch as the flavors and textures surprise and charm my guests. And I want to make this again right now because I only ate like half of the first one and I need to make sure it's as good as I'm remembering! (See what I mean about getting too excited about food?)
You can find the recipe for Maple Oatmeal Scone at Vanilla Bean Blog, and, if you haven't already, you should check out Sarah's book The Vanilla Bean Baking Book. It was this book that really got me out of my comfort zone in the kitchen, trying new recipes and new learning new skills. AND her peanut butter cookies are something else!
Resources, Tips, and Takeaways
It seemed like every time my mom was pregnant, she picked up a new hobby to keep her distracted until the baby came. When she was pregnant with one of my brothers, she even learned to play the drums (and she's pretty good!).
Maybe it's because I've been watching a lot of The Great British Bake Show, or maybe it's because I came across two AMAZING baking books at the library (Sarabeth's Bakery: From My Hands to Yours by Sarabeth Levine &The Baking Bible by Rose Levy Beranbaum), but I've been baking A LOT this summer. Brownies, breads, galette, muffins, cookies, cinnamon rolls- I've got the time, and baking is one of the few things I have energy for! Lately though, I've been wanting to push myself, to try something new- something technical. What is it about whipping egg whites or folding butter into dough that's so intimidating anyway? 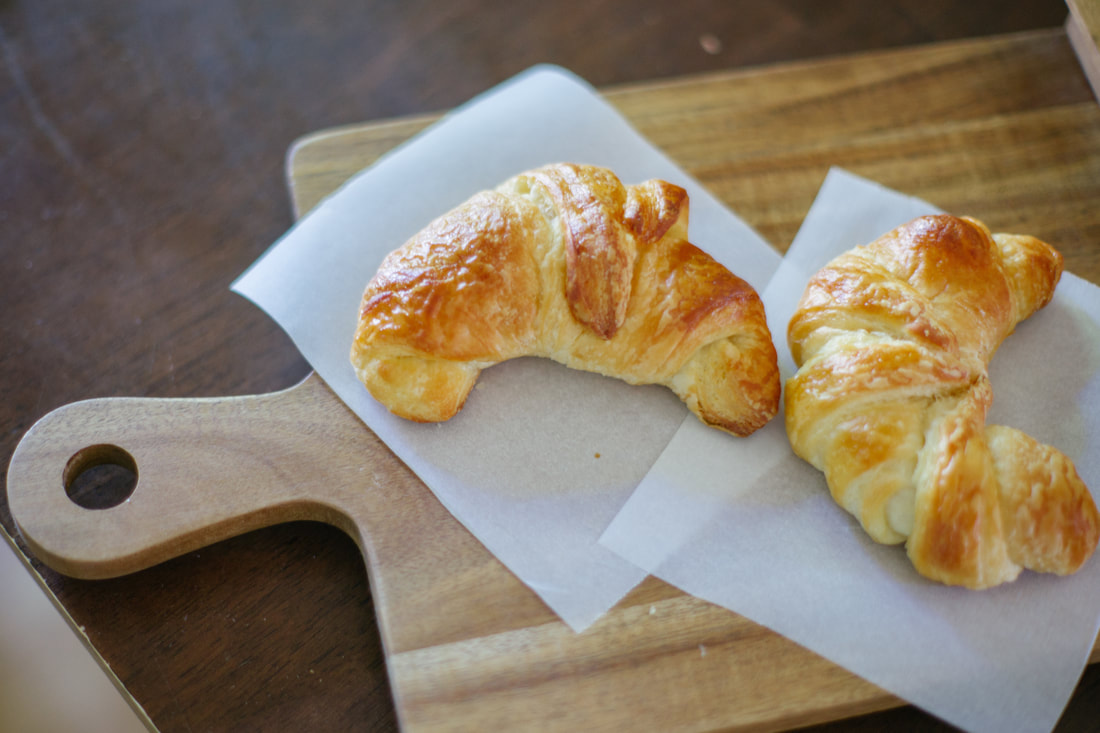
I somewhat successfully tried out a rough puff recipe earlier this summer, but this week, with Sarabeth's step-by-step instructions coupled with all of the available episodes of Great British Bake Show, I felt ready to conquer a fully laminated croissant dough. They turned out beautiful AND delicious- I've never been more proud of any feat I've endeavored in the kitchen!
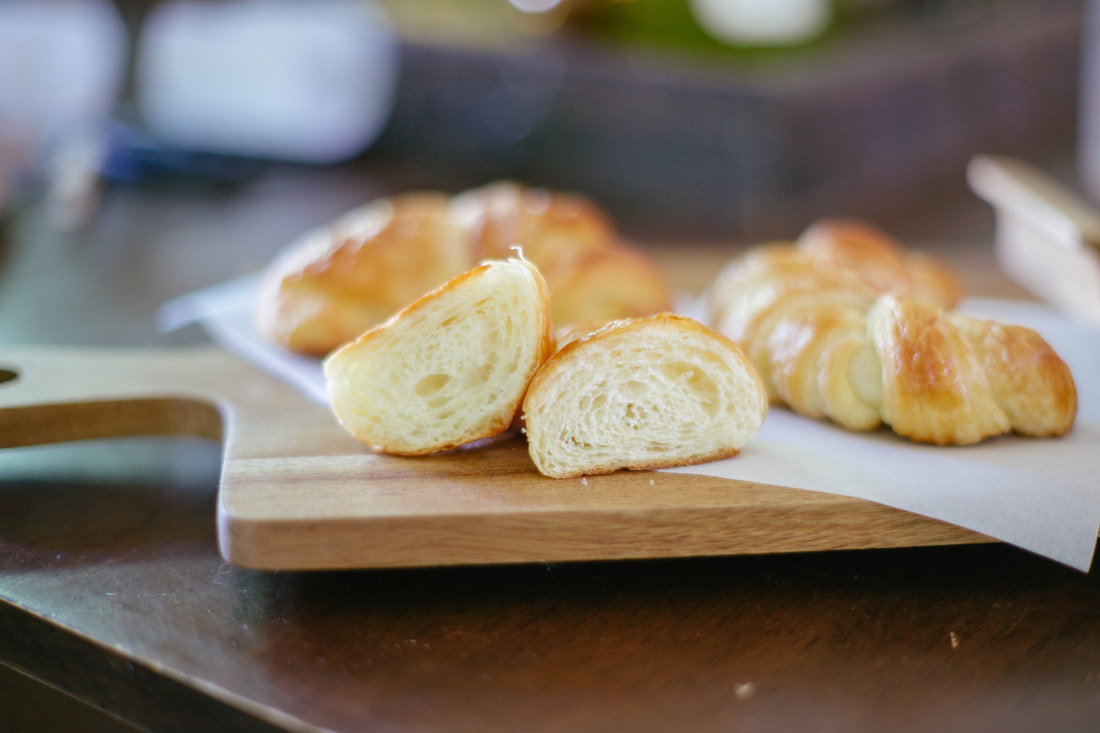
I only used half of the dough for the croissants, so I channeled my inner "Star Baker" and decided to create something of my own. Introducing the Croicinnassant! (The name needs some work).
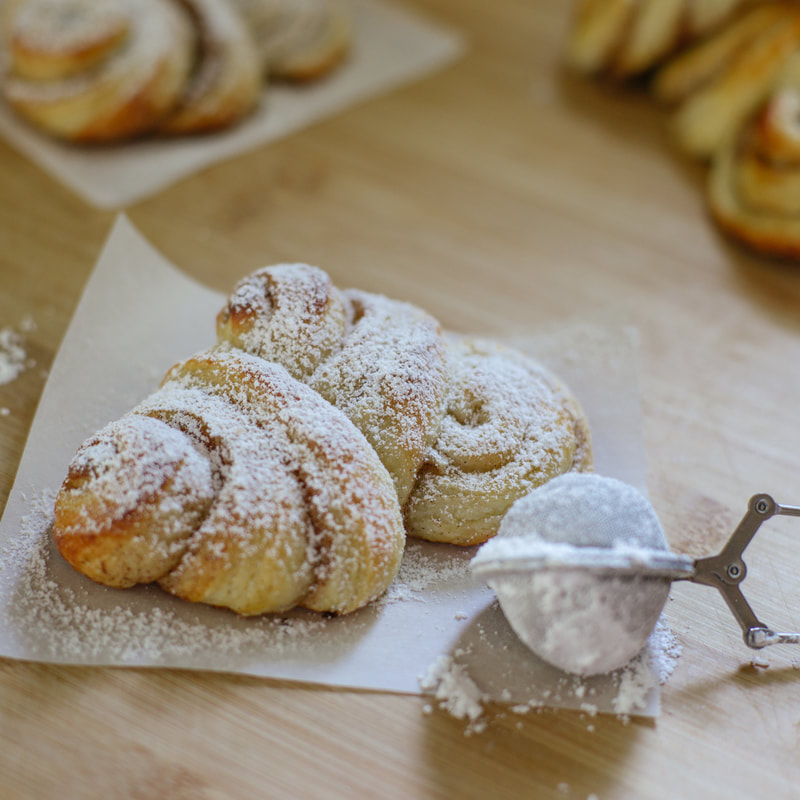
I added a generous amount of cinnamon and sugar to the laminated dough, rolling and cutting it exactly how I would with cinnamon rolls, but then I made two cuts in each roll, almost all the way through, and spread them out to showcase the light, flaky swirls. Once again, delicious. But how can you go wrong with so much cinnamon, sugar, and butter???
Looking for more inspiration? I love following Sarah Kieffer of The Vanilla Bean Blog and Katie Wood of Wood & Spoon. Here are two of our recent favorites!
Minnesotans love their summers- and how could they not? It might warm up or get a bit muggy now and then, but there are always forgiving days in the 70's to offset the heat. Plus you really come to appreciate new blooms and even yard work as the seasons change and you only have a few months to enjoy the green outdoors.
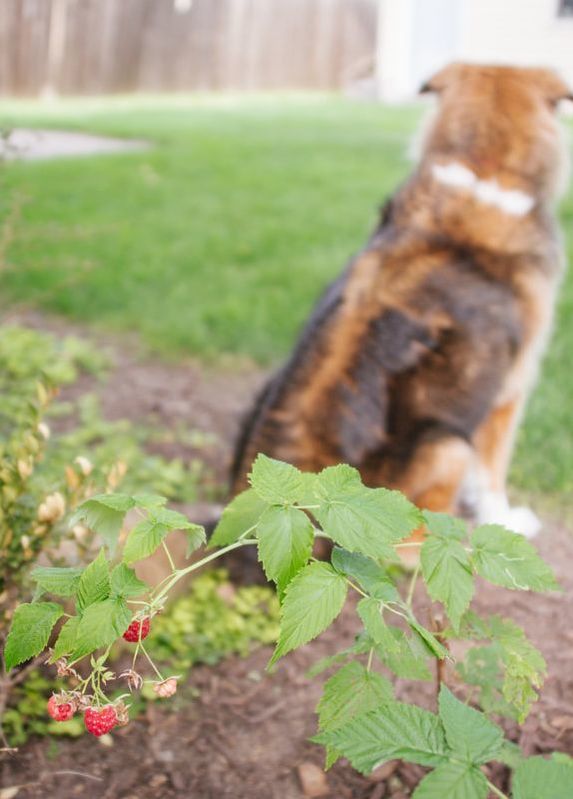
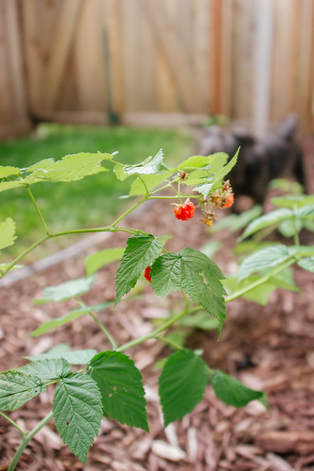
We love living where there are four seasons, but Matt especially takes advantage of these summer months. He has grown a beautiful vegetable and herb garden, researching all winter long to find the best seeds and varieties to grow in Minnesota. And this year, he ordered raspberries.
They've really taken to their new home, and it's no wonder- we've started noticing wild raspberries growing on our outings with the dogs too. Still, it's their first year, so we can't expect much of a crop. But next year, these berries are destined for some homemade raspberry jam. I'm already dreaming about it.
When I was little, my grandma used to keep blackberries and raspberries growing in her yard and we'd pick and eat what we found. To this day, raspberry jam reminds me of her house, especially when it's smothered on hot, homemade bread. I learned to make homemade jam from my Dad's mom- my Nana. She lived a few hours away when we were in college, and so I made a point of learning the art of jam making from her on one of our many a weekend visits. Her signature jams were apricot or plum, and she always had homemade jam to serve her guests. Always. She also loved to give her jam away with the promise that if you brought back the empty jar, she'd send you home with more. 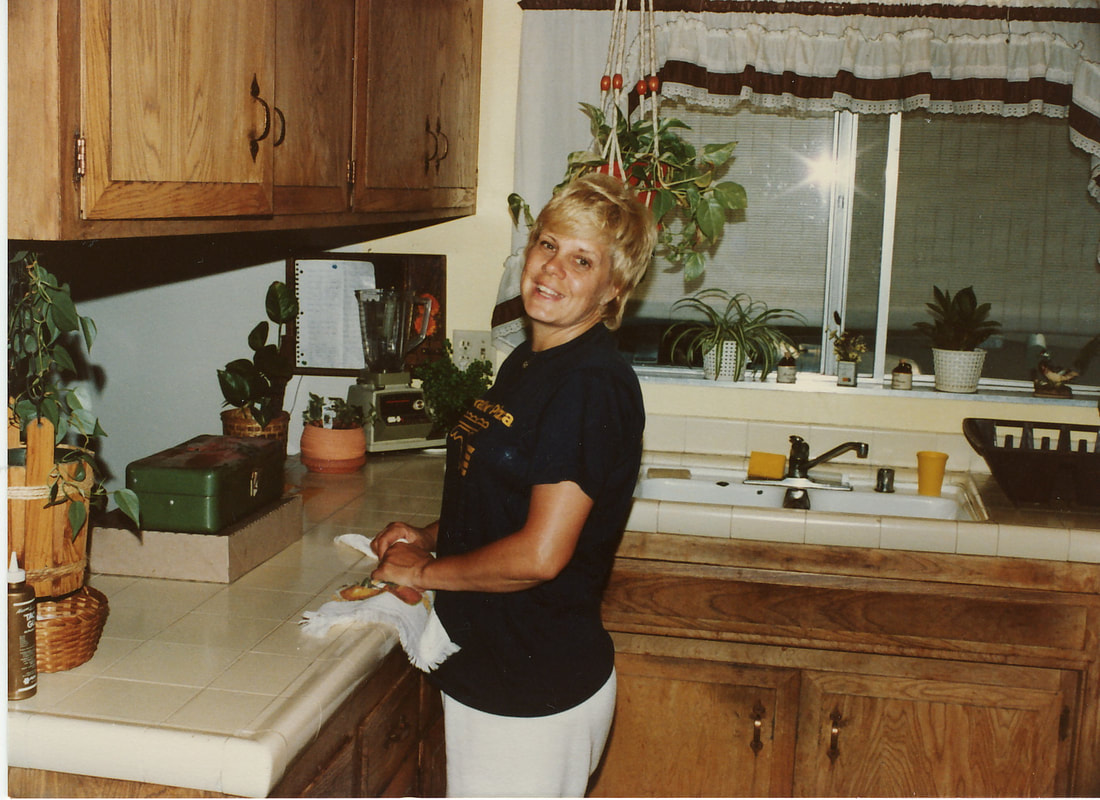
Nana passed away a couple of years ago, and I treasure every little trip we took to be with her, but I'll always have a special place in my heart for homemade jam because it's her gift to me, forever her labor of love.
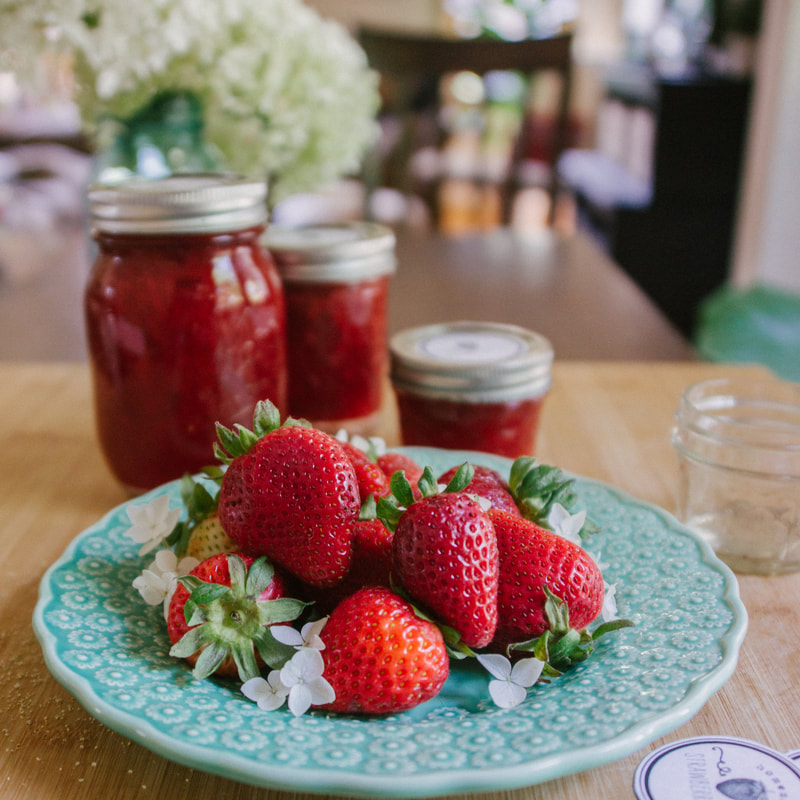
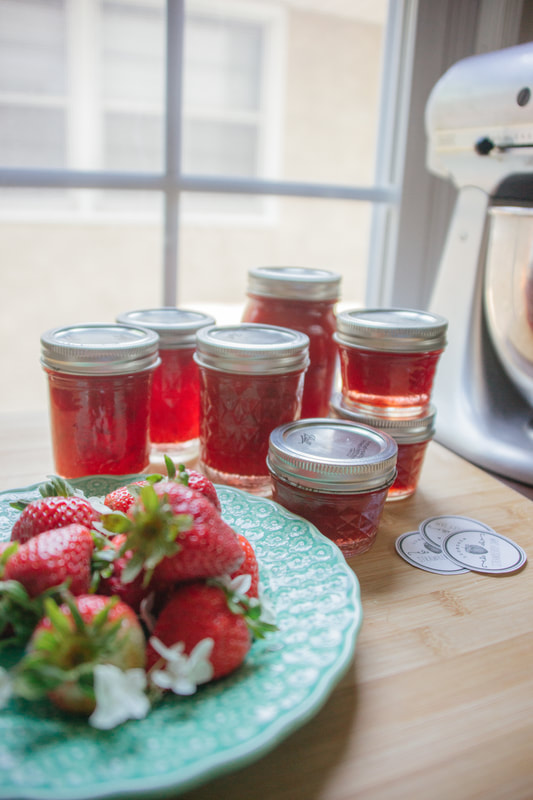
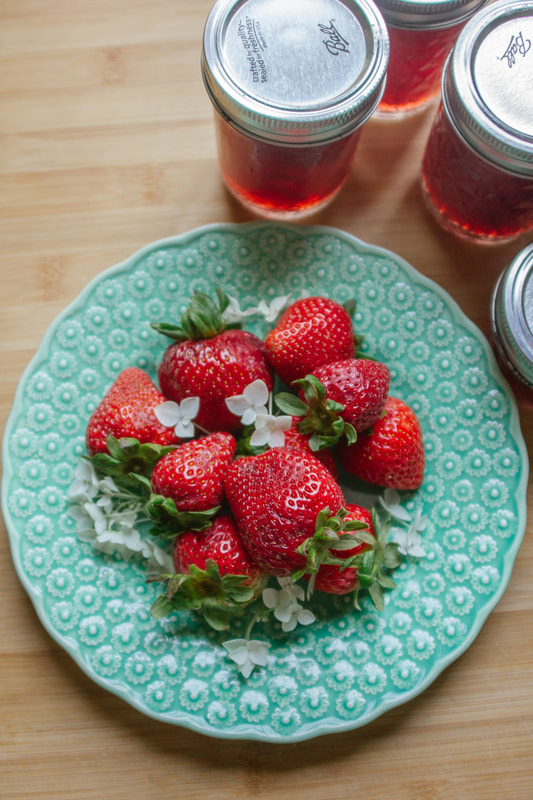
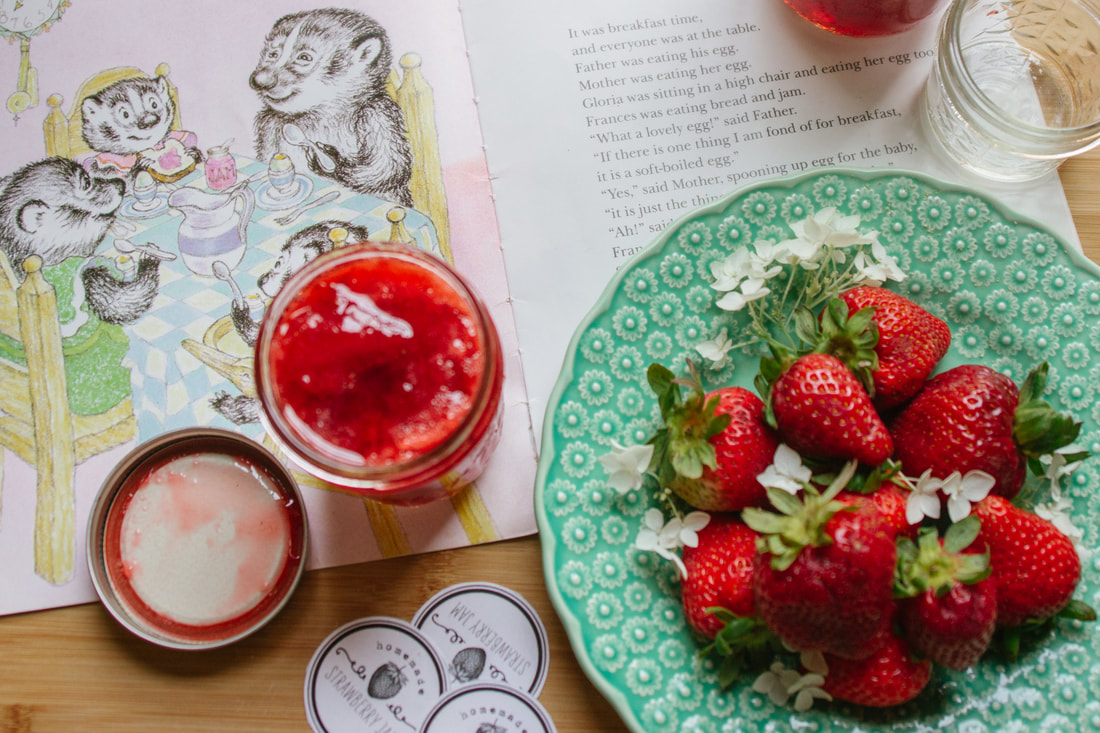
I don't think I've made jam since Nana passed away, but her voice was in my head throughout the whole process. Since our raspberries aren't quite ready, I went with strawberries this year because they were on sale. I bought my box of Sure Jell Premium Fruit Pectin (which comes with the recipe and instructions) and new lids, sterilized my rings and jars, and followed the Sure Jell recipe exactly, just how she taught me. Her advice? Measure everything in advance and have it ready to go before you start. And fill the jars to within 1/8 of an inch! Don't have a canner? As soon as the lids are screwed on tight, place the jars upside down so the boiling jam will do the sealing for you. Works every time! Write the date on the lid in case the 1 year storage date sneaks up on you. And always plan to give some away- everyone loves homemade jam and it's meant to be shared!
Since Nana taught me, I've passed on her wisdom to a few others over the years. Because making jam for the first time is intimidating, but I've found that people wish they had the skill and experience so they can make and enjoy their own. Because there is something wonderful about seeing berries on sale and being able to say, "I can make jam!" Thanks Nana :)
Lately I've also been thinking about making homemade jam with my own daughter someday and the fond memories we'll share then. I've been so inspired this summer by a few Moms I've started following on Instagram. The curriculum they have created for home school has gotten me so excited for preschool years and summers- I love writing lessons for my 6th graders, and now I'm starting to see all the possibilities for teaching my own little ones in the home!
While I made the jam, I kept imagining reading Bread and Jam for Frances by Russell Hoban or The Little Mouse, the Red Ripe Strawberry, and the Big Hungry Bear by Don Wood with this little girl and watching our berries grow throughout the summer. We could learn about bees and plants, the science of pectin, and all about my wonderful Nana as we harvest fruit from our own garden (or go berry picking at a local farm!), make our own homemade jam and labels, and enjoy the fruits of our labors on bread straight from the oven or in a simple PB&J.
How old does a baby have to be before she can eat jam? Or fresh raspberries? And when do they start loving books? I wonder what she'll want to plant in the garden.
This baby girl can't get here soon enough- But I can wait :) I know it's all going to go too fast as it is! Strawberry Jam
Instructions
Sure Jell recipe with notes from Nana
|

The Robertsonsest. 2008 I am a writer and these are my stories.
POPULAR POSTS

|